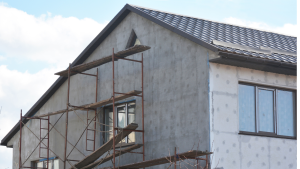
Stucco, a popular exterior finish, adds charm and durability to homes. Over time, however, it may develop cracks or chips, compromising aesthetics and functionality. The good news is that you don’t need to break the bank hiring professionals for stucco repairs. This guide will explore practical and easy-to-follow DIY stucco repair tips to revive your home’s exterior. Enhance your property’s charm with CMB Jersey City Stucco & EIFS. For additional details, explore our website.
What to Do
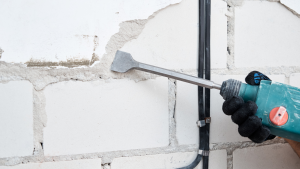
Identifying the problem is the first step in any successful DIY stucco repair project. Inspect your home’s exterior for cracks, chips, or areas with flaking stucco. Pay attention to corners and around windows and doors, as these are common trouble spots.
How to Do DIY:
Stucco Mix
- Stucco mix is a pre-blended mixture of sand, Portland cement, and sometimes lime. It’s available at most home improvement stores.
- Look for a high-quality stucco mix suitable for exterior repairs. Different brands may have specific instructions for mixing, so be sure to follow the guidelines on the packaging.
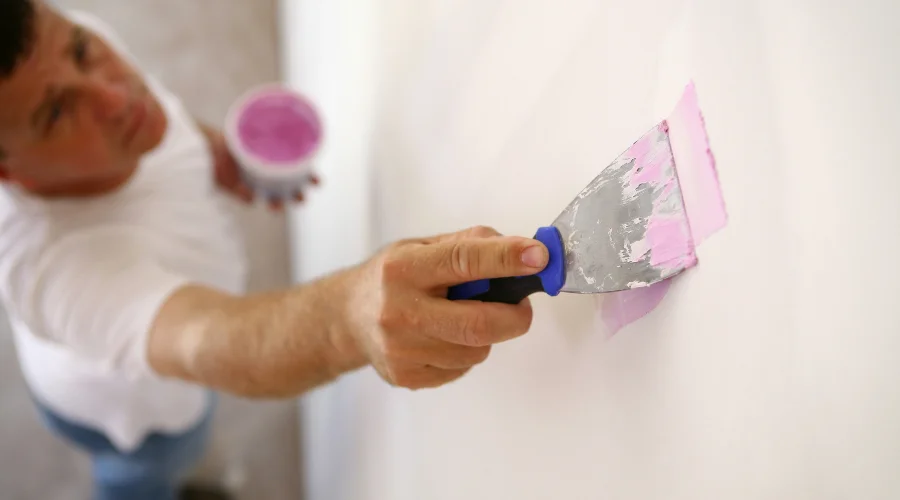
Trowel
- A trowel is a flat, pointed tool for applying and smoothing stucco onto surfaces.
- Choose a trowel with a comfortable handle and a flat, smooth blade for easy application. You may also want a smaller scoop for detailed work in tight spaces.
Masonry Brush
- A masonry brush is a stiff-bristled brush designed for cleaning and prepping surfaces before applying stucco.
- Use the masonry brush to remove loose stucco, dirt, and debris from the repair area. It helps ensure a clean surface for the new stucco to adhere to.
Bucket
- A standard bucket is needed for mixing the stucco. Choose a size that accommodates the stucco mix required for your project.
- Ensure the bucket is clean before mixing to avoid contaminants affecting the stucco mix.
Water
- Water is an essential component in the stucco mix. Follow the manufacturer’s instructions on the stucco mix packaging to determine the correct water-to-stucco ratio.
- Additionally, you may need water for misting the applied stucco to keep it moist as it sets, promoting better curing.
Plastic Sheeting
- Plastic sheeting protects surrounding areas from accidental splatter or damage during the stucco repair.
- Choose a durable plastic sheeting that can be easily secured with masking tape. This helps contain the repair area and keeps adjacent surfaces clean.
Masking Tape
- Masking tape is used to secure the plastic sheeting and protect adjacent surfaces.
- Apply the masking tape to windows, doors, or any areas you want to keep stucco-free. It ensures a neat and controlled repair process.
Having these materials on hand and using them correctly will contribute to a successful and professional-looking DIY stucco repair. Always follow safety guidelines and product instructions for the specific materials you choose.
With a bit of patience and the right tools, DIY stucco repair is a manageable task that can enhance your home’s curb appeal and longevity. Regular maintenance and prompt repairs ensure that your stucco exterior remains a source of pride for years. So, roll up your sleeves, follow these step-by-step guides, and give your home the attention it deserves. Your DIY stucco repair project might just become the talk of the neighborhood!